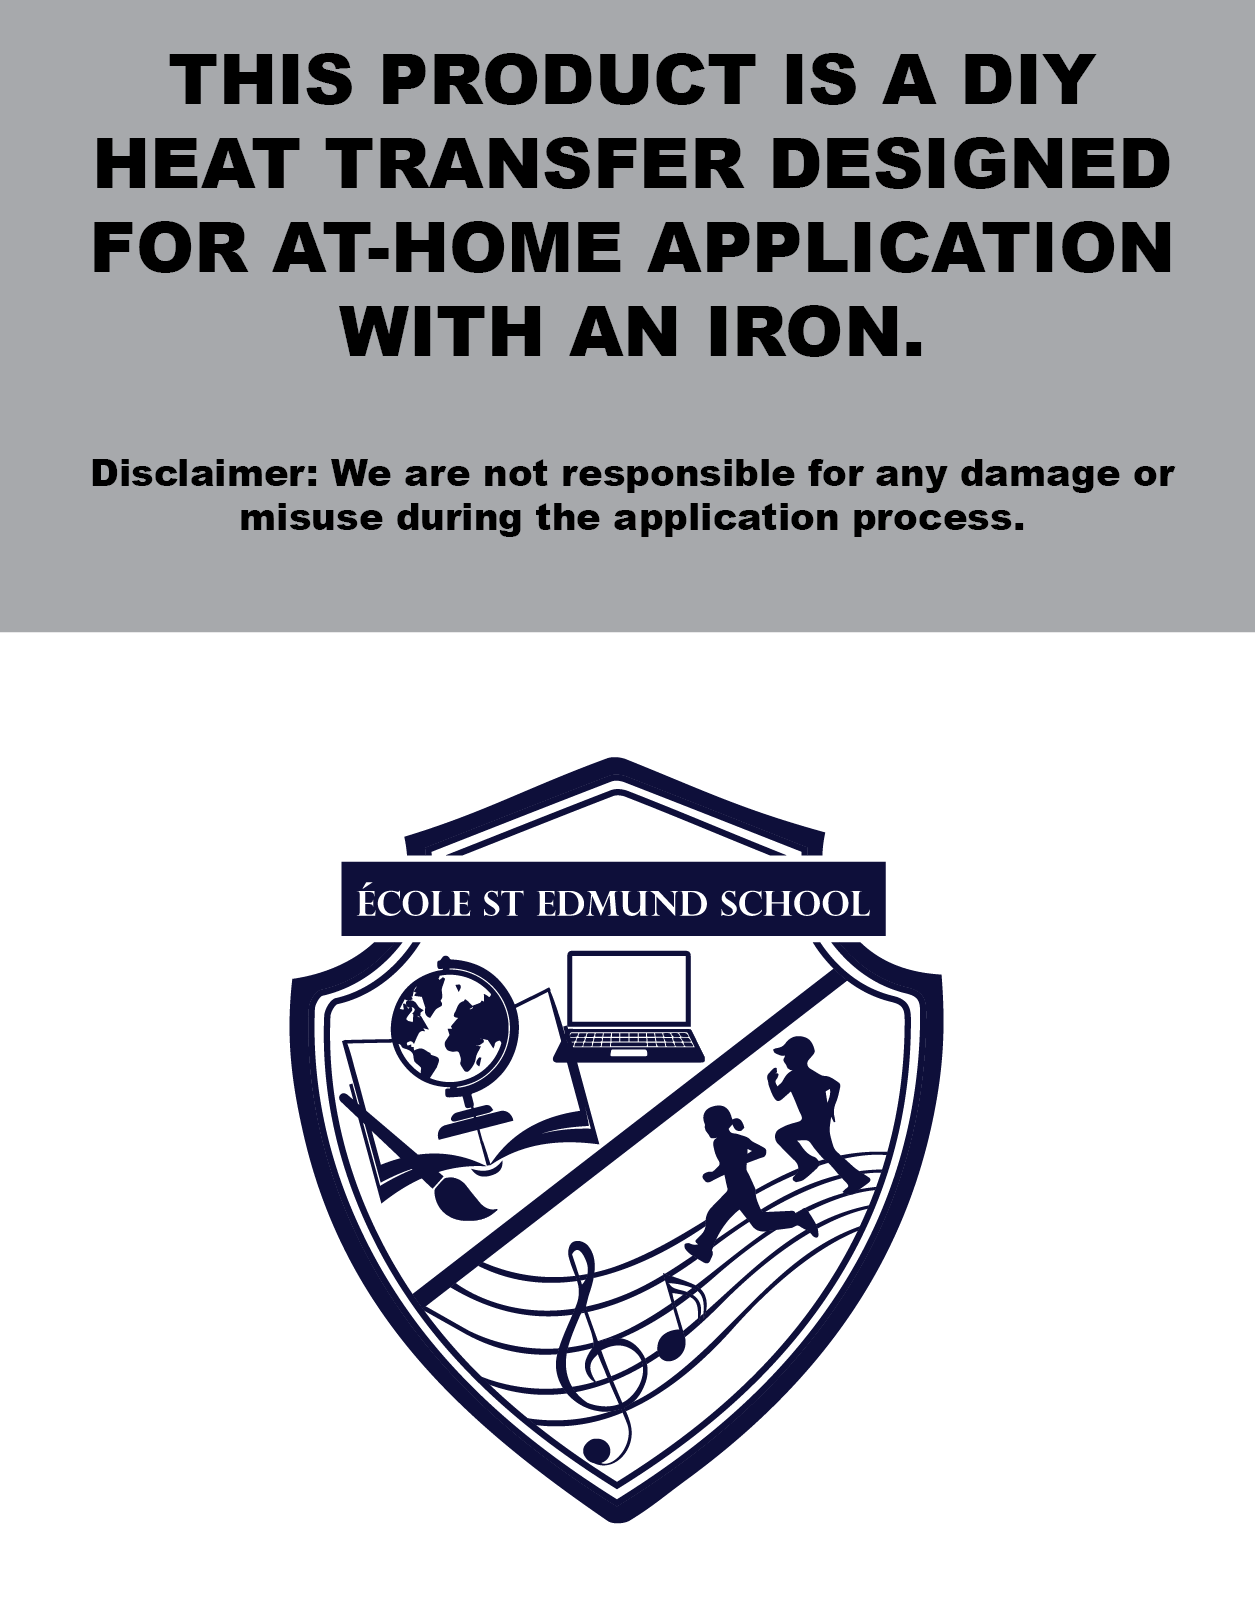
St Edmund Left Chest Transfer
- Regular price
-
$3.00 - Regular price
-
- Sale price
-
$3.00
Detailed Steps for at-home IRON:
-
Prepare the Garment:Ensure the fabric is clean and wrinkle-free. Iron the area where the transfer will be applied to remove any creases.
2. Position the Transfer:Carefully place the transfer on the garment, making sure it's positioned correctly.
3. Protect the Transfer:Place a piece of parchment paper or release paper over the transfer to protect it and the iron.
4. Iron the Transfer:Heat your iron to the recommended temperature (usually medium or cotton setting with no steam). Apply firm, even pressure to the transfer, moving the iron slowly and deliberately across the entire design for about 20-25 seconds.
5. Peel the Transfer:Slowly peel the transfer. If any part of the transfer lifts/tugs, reapply heat and pressure to that area with your parchment paper overtop. Do not force it. It should peel like butter if the right amount of heat/pressure was applied with your iron.
6. Seal the Transfer:Once peeled, place your parchment paper overtop the logo and iron for another 5 seconds to make sure no edges have lifted.
7. Care Instructions:Turn the garment inside out when washing and avoid ironing directly on the transfer or the heat will remove the transfer.
HEAT PRESS:
Temp: 320°-350° I Pressure: Heavy
Time: 7 seconds | Peel: HOT
COVER THE TRANSFER WITH TEFLON OR PARCHMENT PAPER BEFORE PRESSING.
REPRESS: Once peeled, cover the image with Teflon or parchment sheet and repress for 2-3 seconds under firm pressure.
Disclaimer: We are not responsible for any damage, misuse, or transfers peeling or coming off after washing. If transfer lifts after the wash, that is because not enough heat/pressure was applied.
Couldn't load pickup availability
